We’ve all experienced tight shoulders and a sore lower back pain after a long day at work. Sometimes the problem isn’t your workstation equipment – it’s how it’s set up.
The wrong setup can encourage hunching, overreaching or twisting, which can all contribute to repetitive strain injury and even musculoskeletal issues.
The good news? With a few simple adjustments, you can achieve an ergonomic workstation that works for you. Let’s get you comfy and productive!

Step 1: Nail Your Chair Height
First things first – let’s adjust your sitting height. Your elbows should be bent at about 90 degrees, with your forearms parallel to the desk. Often users sit too low in relation to the desk which can encourage hunching when typing, writing or using the mouse. By positing yourself at the correct height, your shoulders aren’t hunched, reducing stress to the upper back, shoulders and neck.
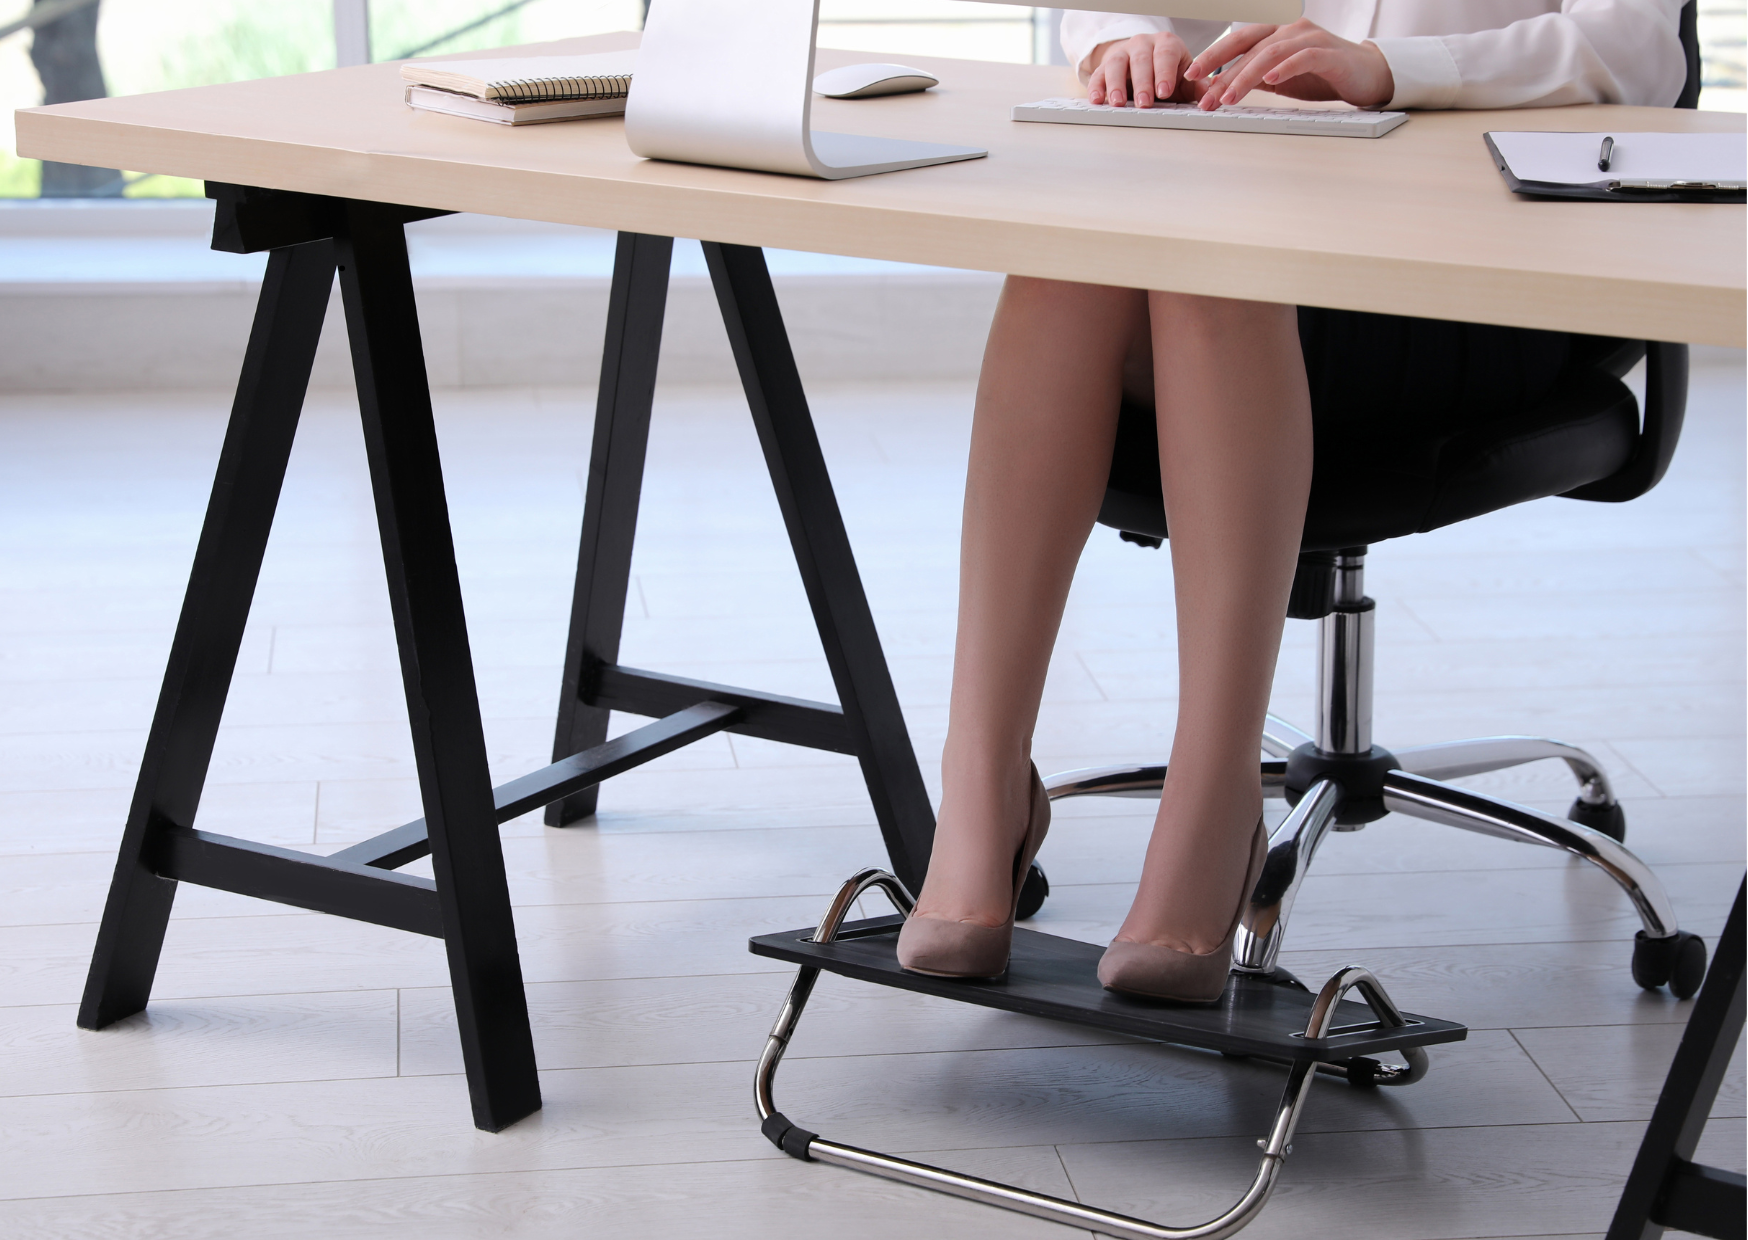
You then need to ensure your feet make solid underfoot contact with the floor. Shorter users (including myself) sometimes struggle to reach the floor when sitting at the correct height. This can lead to perching on the edge of the seat to reach the floor, resulting in loss of support from the backrest.
If this sound familiar, consider getting yourself a footrest to compensate for the lack of underfoot contact. This will allow you to sit all the way back in your chair, so the backrest does the heavy lifting.
The final thing to consider is your hip and knee placement. Keep hips slightly higher than knees so your thighs slope gently down. If your knees are higher, the weight is shifted to your lower back and can add stress here.
Step 2: Position Your Monitors
You want your natural eye level to meet the top third of the screen. This avoids any unwanted flexion of the neck. If you use a laptop, getting a laptop stand will help elevate the screen to a more comfortable height.
Monitors should be positioned centrally to minimise twisting of the neck. If you use multiple screens, place your primary monitor in the centre. If both are used equally, align them side by side.
Screen distance is equally important. Position your monitors so you can read comfortably without leaning forwards and losing the support of your chair. As a simple rule of thumb, sit back and extend your arm – your fingertips should just touch the screen. That’s your ideal viewing distance.

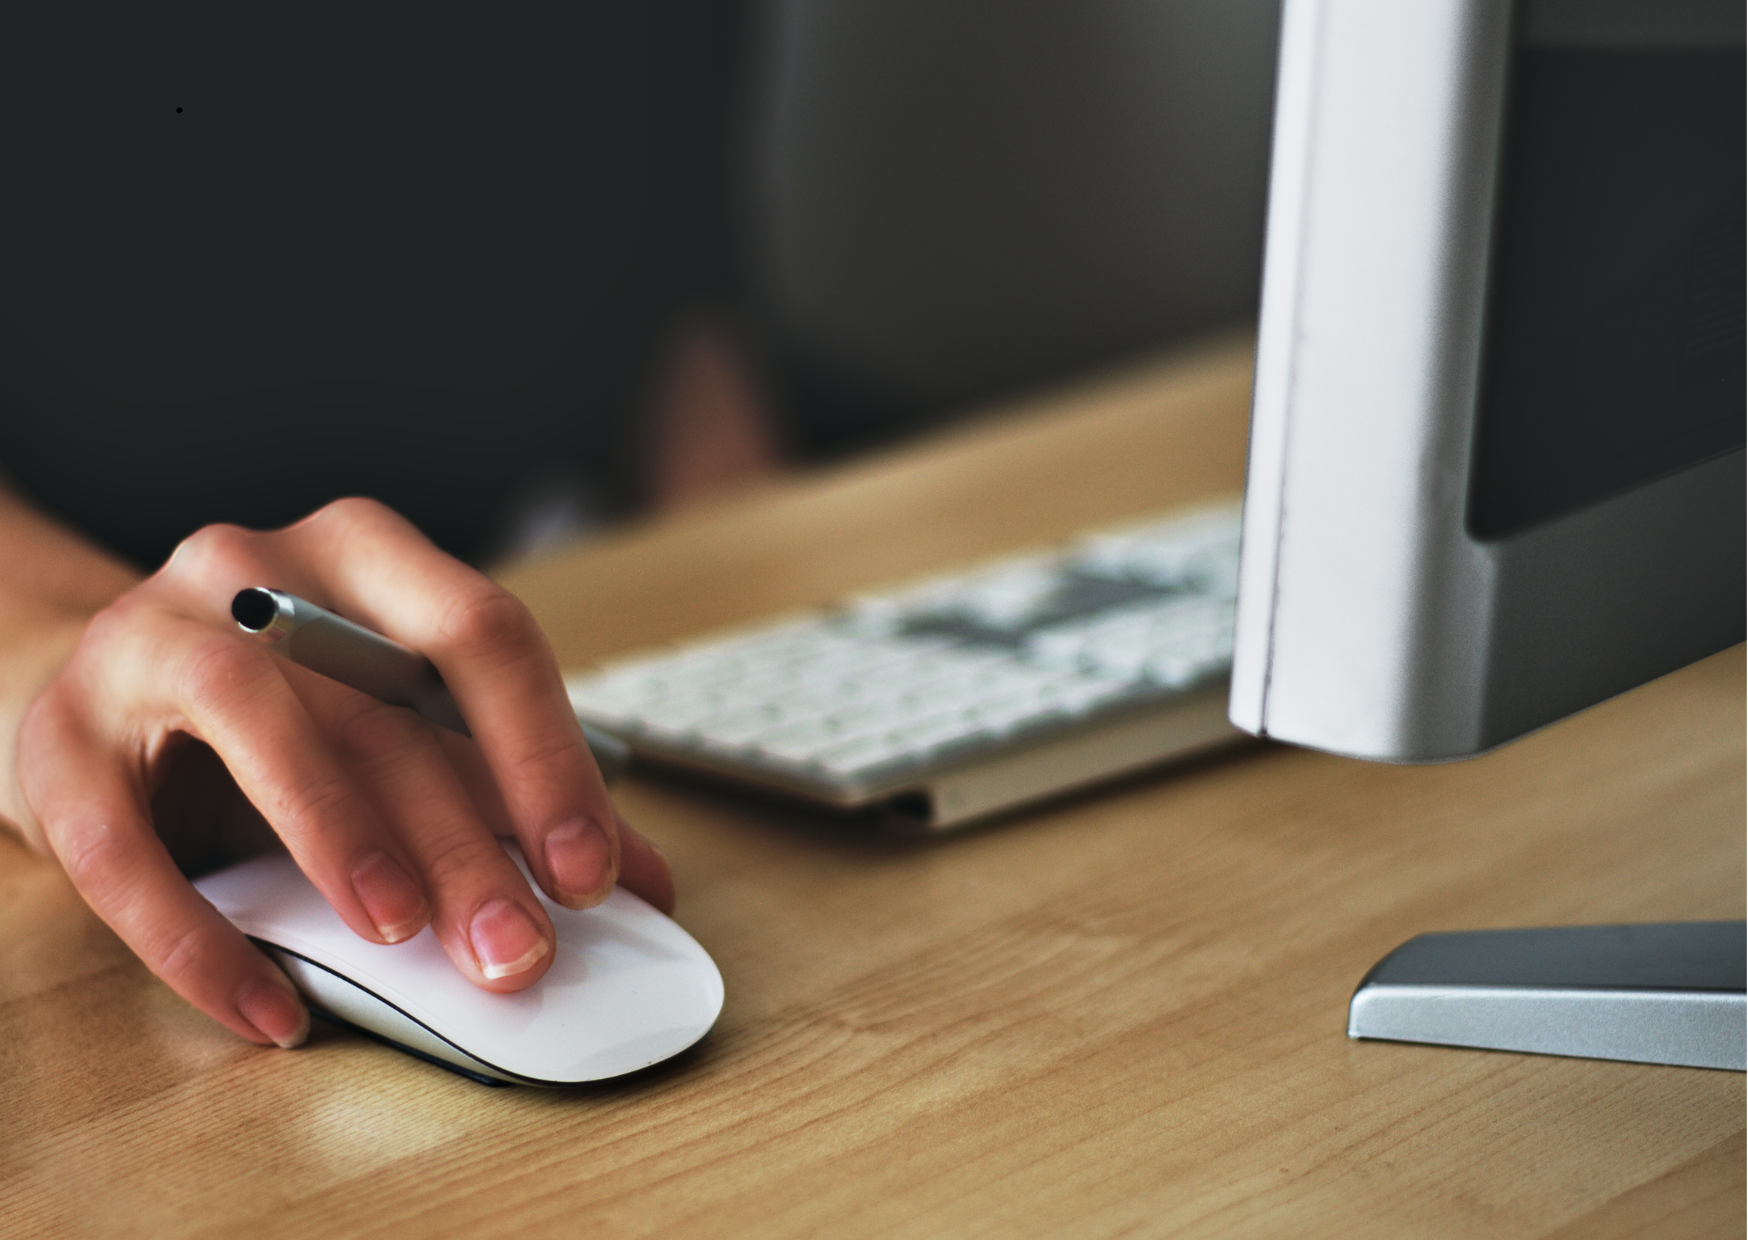
Step 3: Keyboard & Mouse Placement
Your arms should rest naturally by your sides, with elbows bent at roughly 90 degrees. Keep the keyboard directly in front of you and the mouse close by. This helps reduce tension in the shoulders and supports good contact with the backrest. Overreaching for the mouse when sitting at the workstation can strain the shoulder and lead to discomfort.
Step 4: Go Hands-Free with a Headset
If you take frequent calls, handsets can cause trouble. They often encourage users to cradle the phone, putting strain on the neck and shoulders. Using a headset encourages an upright posture with relaxed shoulders. It also frees up the hands, allowing you to multi-task while on a call.

Step 5: Give Your Desk a Check-up
Whether it’s fixed height or adjustable, your desk should meet your elbows when you’re sitting (or standing). Standard desks are usefully 72cm so anything around this will work well.
Also – don’t work on a cramped surface! A cluttered workstation can lead to awkward posture. Keep it clear and give yourself room to breathe.

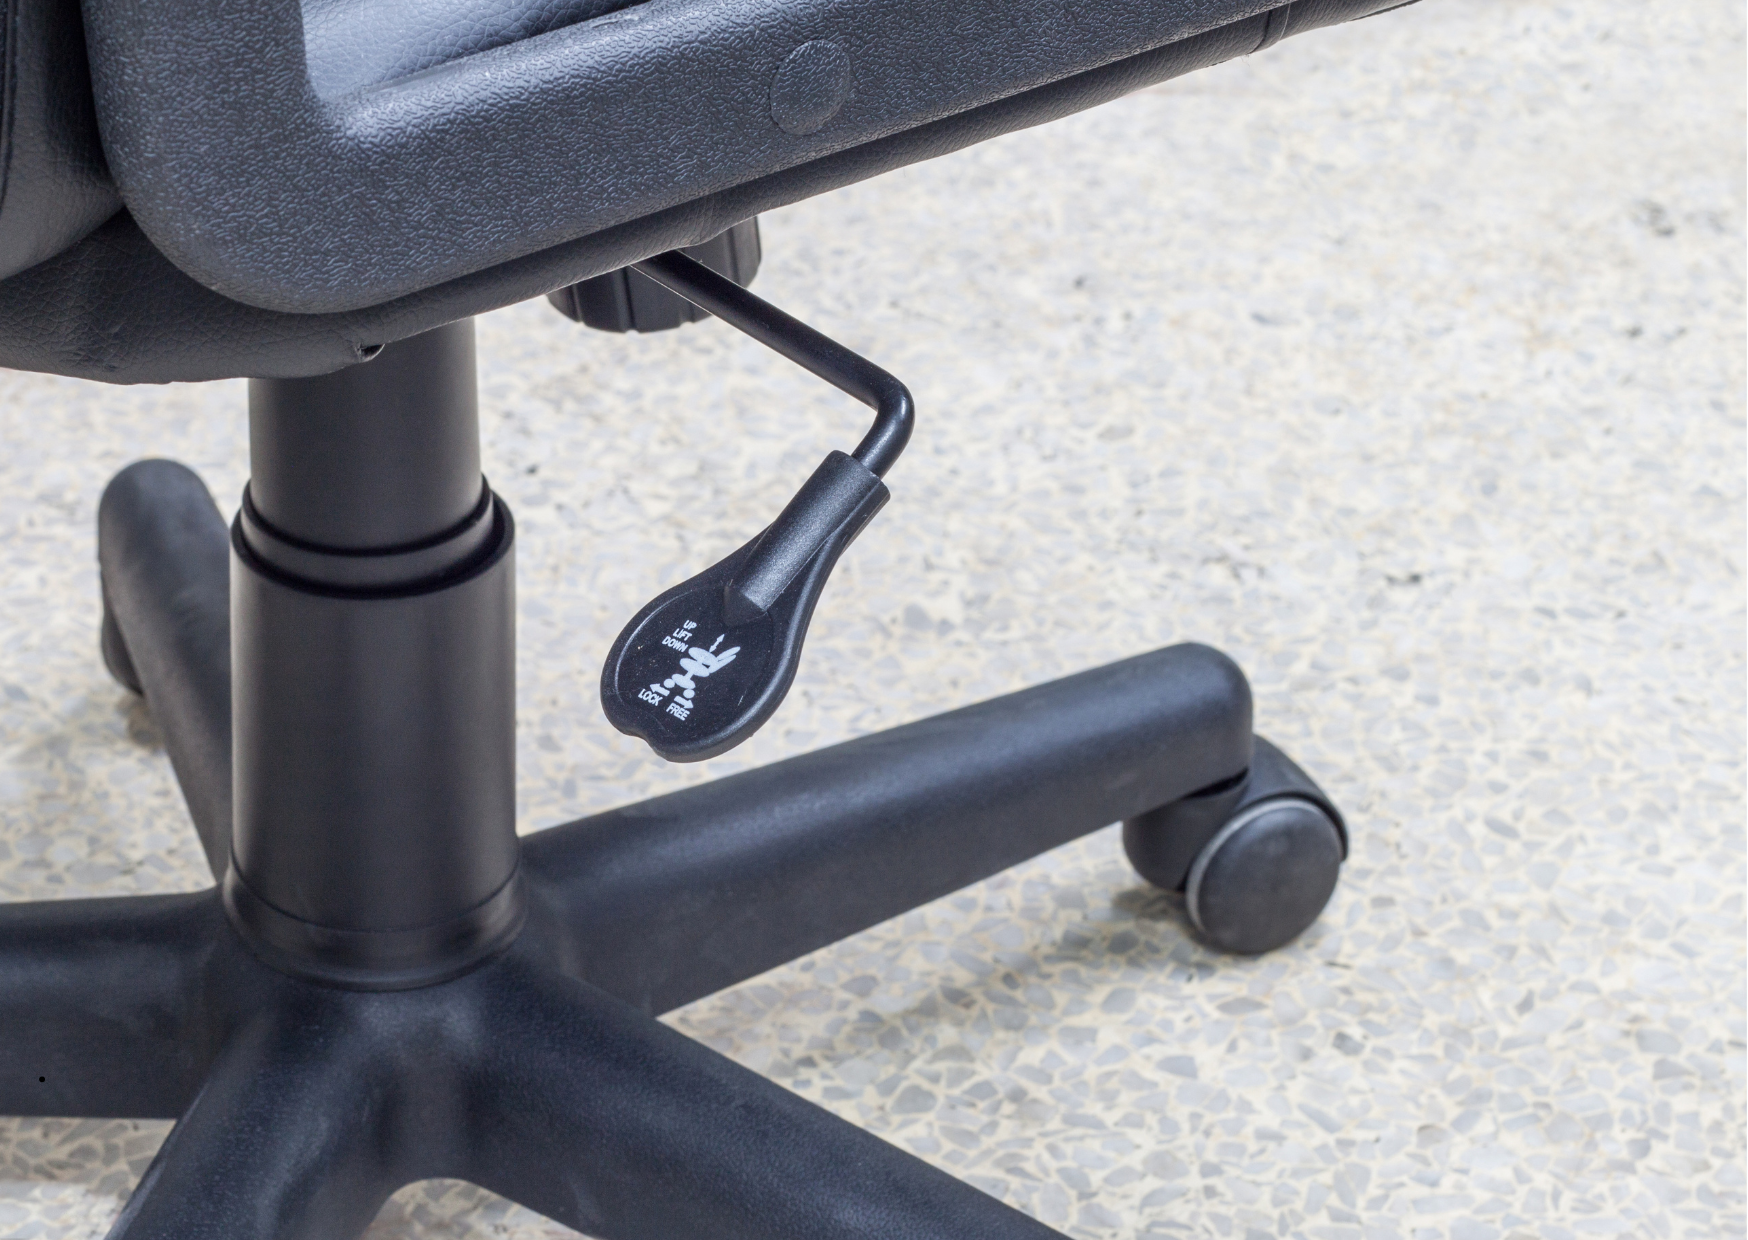
Step 6: Fine Tune Your Chair
Often your chair has all the right components, you just don’t know how to use them. Check whether your chair has a seat slide, this allows you to adjust the depth of the seat. We advise you leave a two-finger gap between the edge of the seat and the back of the knee. This provides adequate support to the thighs without cutting off circulation behind your legs.
Adjust the backrest so the top meets your shoulders. This ensures the full length of the spine is receiving support. Often when the backrest is too low, the shoulders and neck become stiff.
If you have adjustable lumbar support, make sure it’s sitting in the right place. Lumbar support is designed to sit in the small of your back, bridging the gap between curve of the spine and the backrest. This can help to reduce lower back pain and encourages better posture.
Step 7: Don’t Forget to Move
Arguably the most important step. Taking movement breaks away from your workstation every hour doesn’t mean running laps around the office – it’s all about giving your body (and your eyes) a break!
This could be making a coffee, having a stretch at your workstation or getting up to chat to a colleague (rather than pinging them a message!) Movement breaks can help to alleviate discomfort by increasing circulation and preventing fatigue.

So, You’re All Set!
With these simple steps, you’ll be sitting pretty (literally) while keeping aches and pains to a minimum.
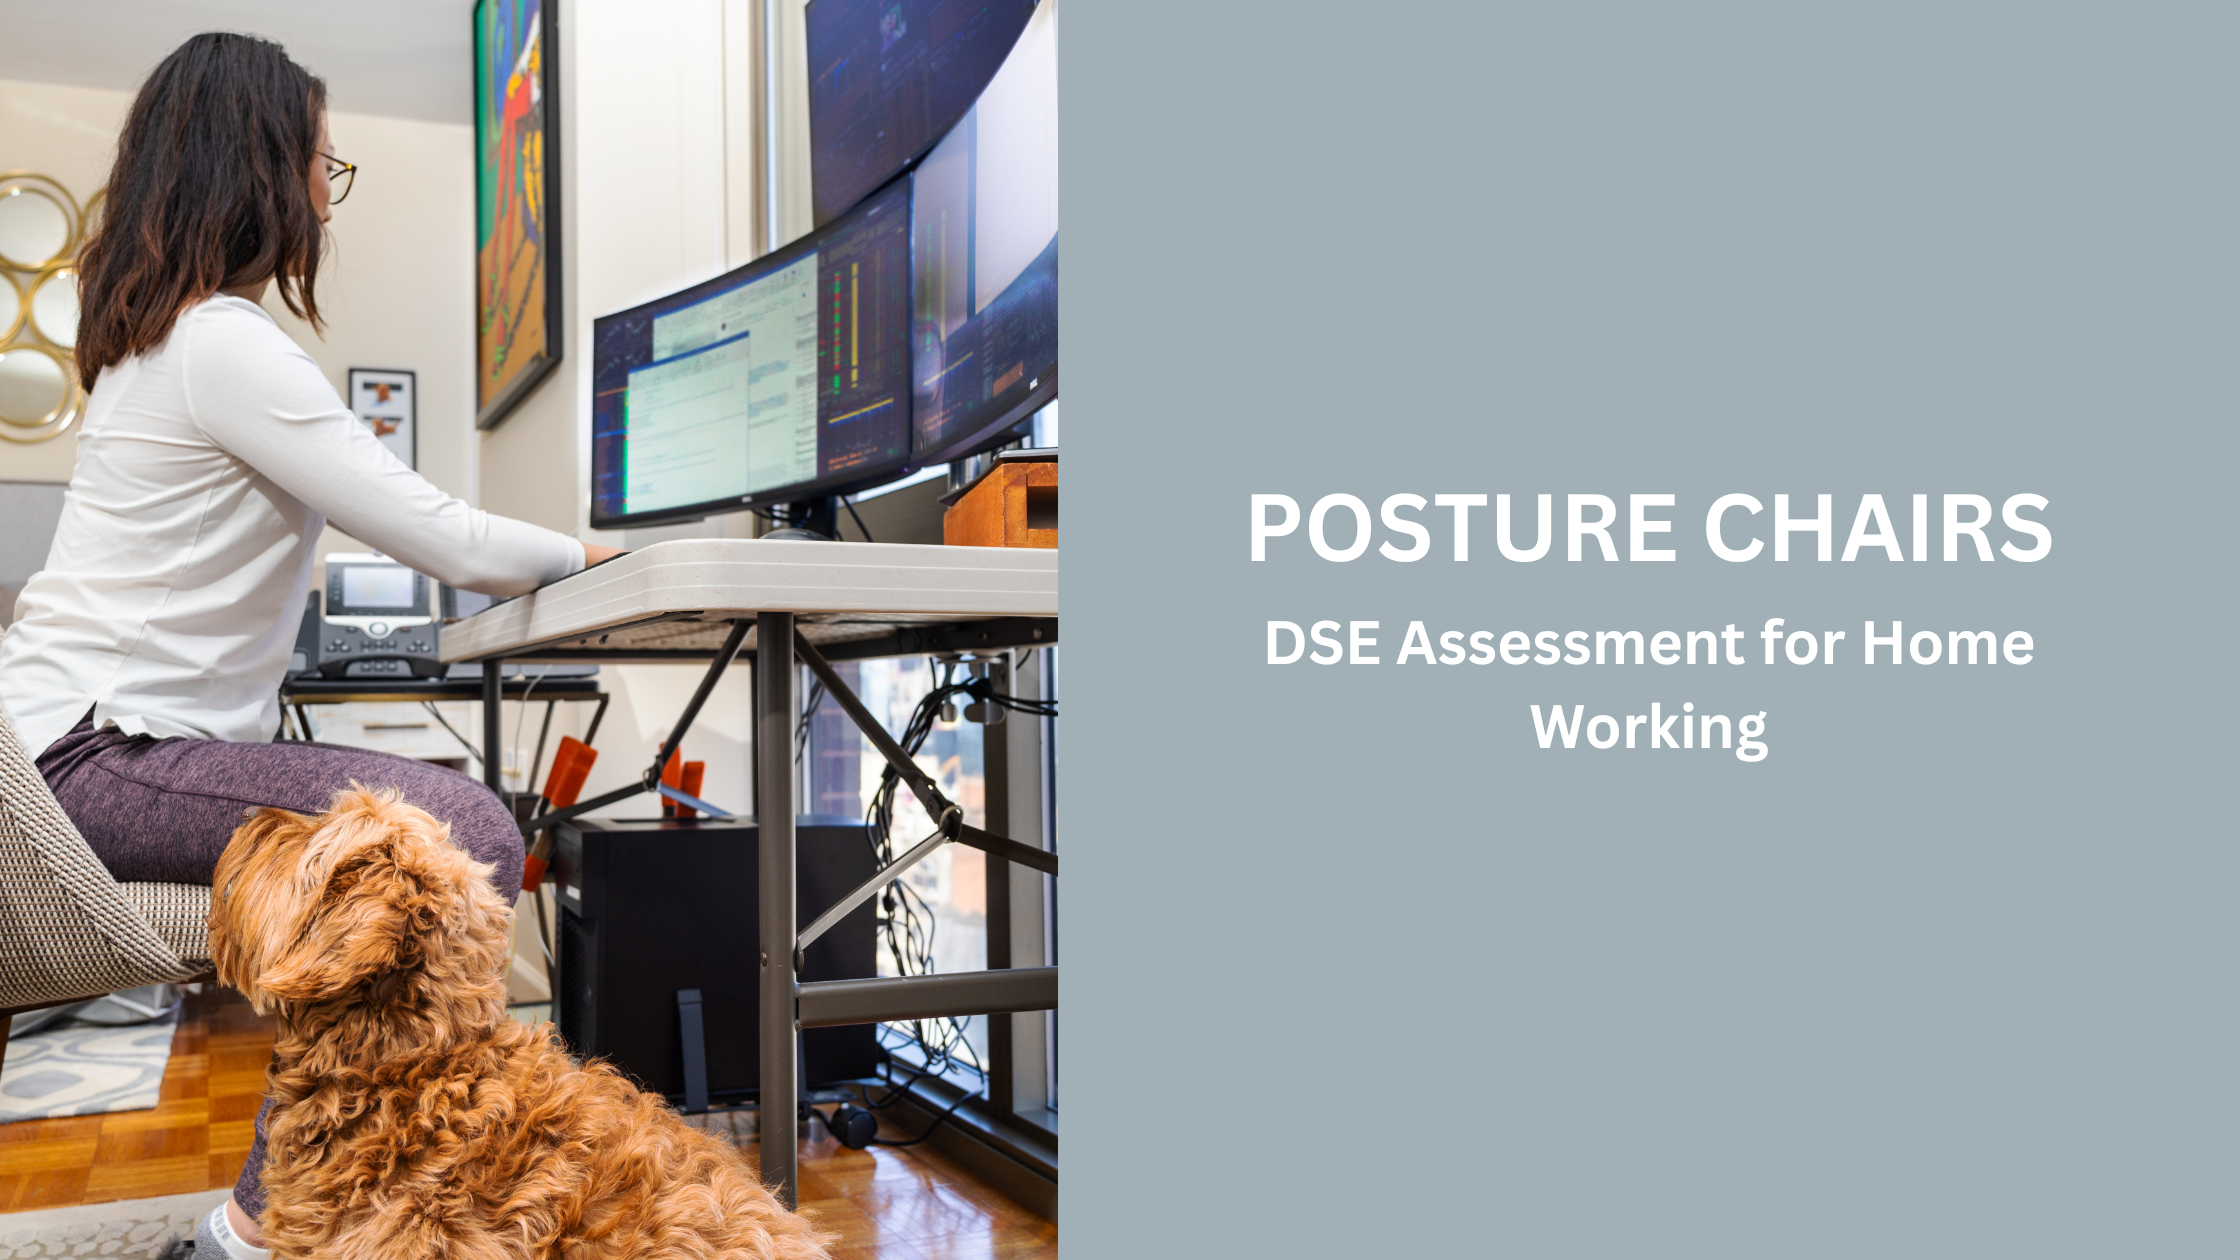
Still struggling? Book a DSE assessment for personalised tips on your workstation setup. As advised by HSE, this can help determine the right setup for your comfort and compliance. Or if it’s time for an upgrade, check out our ergonomic shop to make your setup even better.
Give us a call on 01422 652257, email us at info@posturechairs.co.uk or fill out the form below for more details.
For a fast bite, McDonald’s has quick options ready in minutes. Small burgers, nuggets, sides and drinks let you grab something tasty without waiting long. Checking prices ahead helps you choose the right snack. Check quick McDonald’s bites and their prices UK anytime.